
This is a small test.
We :
- Create a CMake project in Visual Studio 2022
- Add vcpkg to it
- Use vcpkg and fetchcontent in the same small console test program
- Move to Visual Studio Code to recompile
- In Visual Studio Code check WSL compilation
The purpose is to verify how we can get our code working on a Jetson.
The Jetson is ARM, so we need to be able to recompile for that, and the Jetson should allow to run Visual studio Code locally so that we have 2 options to test it on the Jetson:
- Compile locally
- Run remote
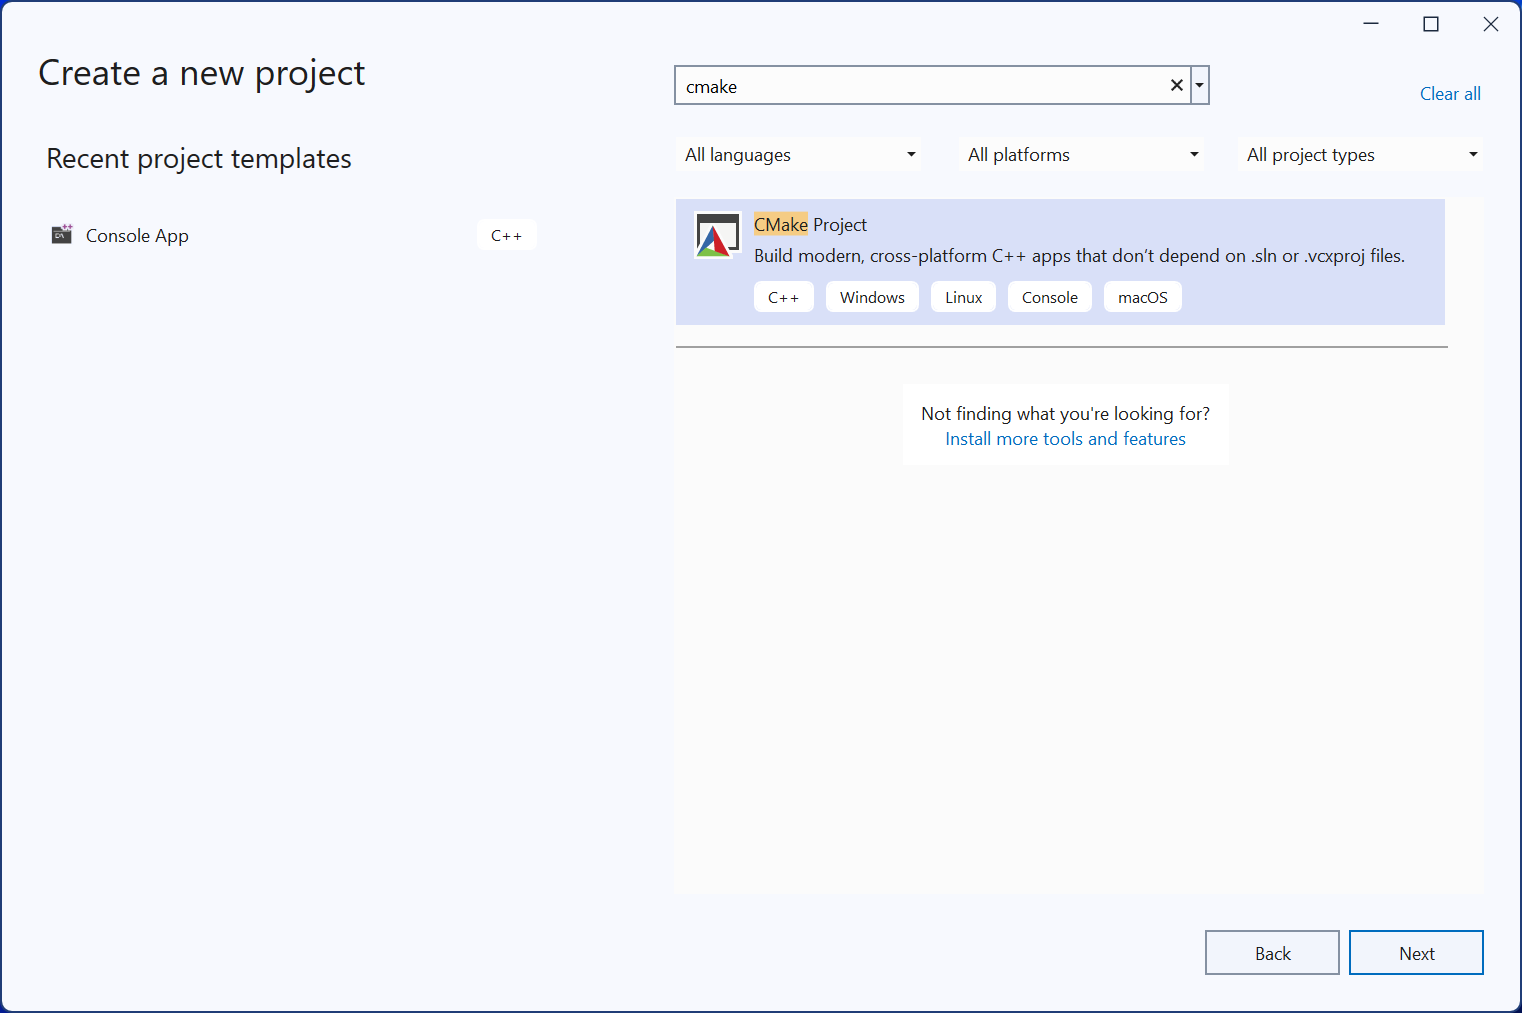
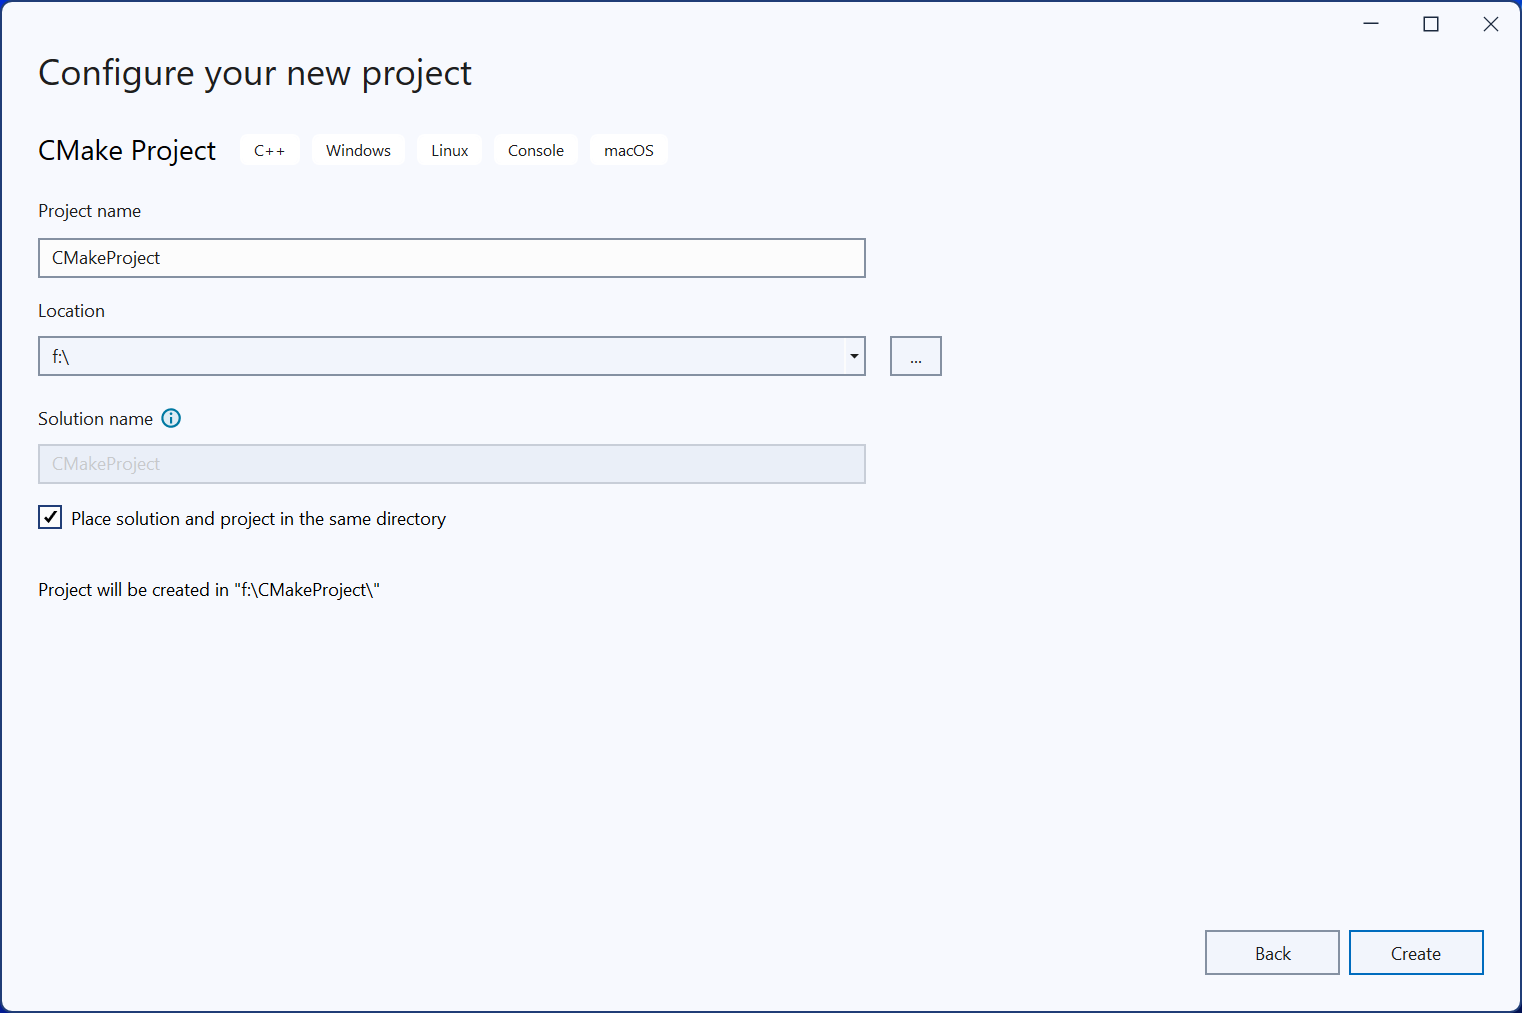
Create CMake Project
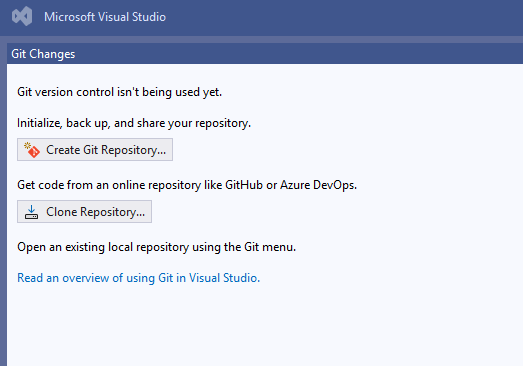
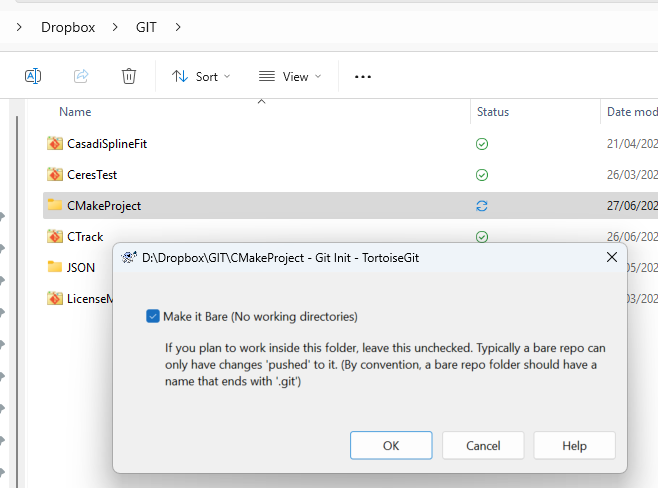
Add to GIT
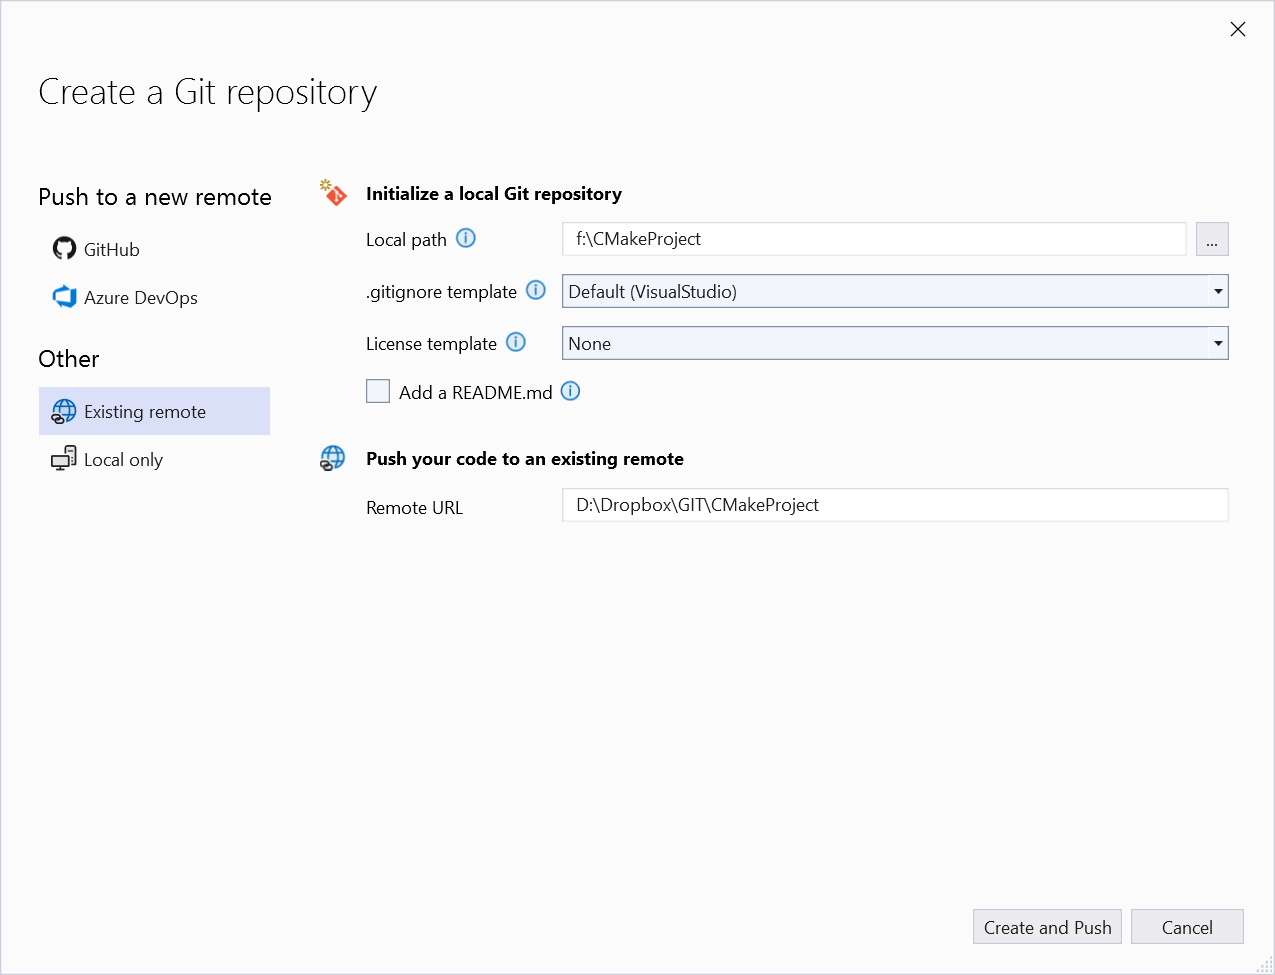
At this point we have a simple CMake project that puts "Hello CMake" on the screen and which is under git.
Configure for VCPKG
We add the fmt library via VCPKG.
Check that VCPKG is installed
From tools->Get Tools and Features, go to individual components and search for vcpkg, make sure vcpkg package manager is installed.
If it was not installed then then you have to run this from a command-line window inside Visual Studio
vcpkg integrate install
This will give
PS F:\CMakeProject> vcpkg integrate install
Applied user-wide integration for this vcpkg root.
CMake projects should use: "-DCMAKE_TOOLCHAIN_FILE=C:/Program Files/Microsoft Visual Studio/2022/Community/VC/vcpkg/scripts/buildsystems/vcpkg.cmake"
All MSBuild C++ projects can now #include any installed libraries. Linking will be handled automatically. Installing new libraries will make them instantly available.
Add git as a submodule
Run these steps line by line
git submodule add https://github.com/microsoft/vcpkg.git
git submodule update --init
.\vcpkg\bootstrap-vcpkg.bat
$solutionDir = Get-Location
$env:VCPKG_ROOT = "$solutionDir\vcpkg"
$env:PATH = "$env:VCPKG_ROOT;$env:PATH"
vcpkg new --application
This will pull vcpkg from github and make it a submodule of our project.
Add VCPKG to the toolchain
Open the file CMakePresets.json.
{
    "name": "x64-debug",
    "displayName": "x64 Debug",
    "inherits": "windows-base",
    "architecture": {
        "value": "x64",
        "strategy": "external"
    },
    "cacheVariables": {
        "CMAKE_TOOLCHAIN_FILE": "${sourceDir}/vcpkg/scripts/buildsystems/vcpkg.cmake",
        "CMAKE_BUILD_TYPE": "Debug"
    }
}
This has to be done for each block "cacheVariables".
Once you save that file, CMake will regenerate, or you could click on this link

This can take a few minutes....
Without this step a find find_package in cmakelists.txt will not work.
Add fmt as a new port
vcpkg add port fmt
This will add fmt in vcpkg.json
{
  "dependencies": [
    "fmt"
  ]
}
Specify version
Check which versions are available here.
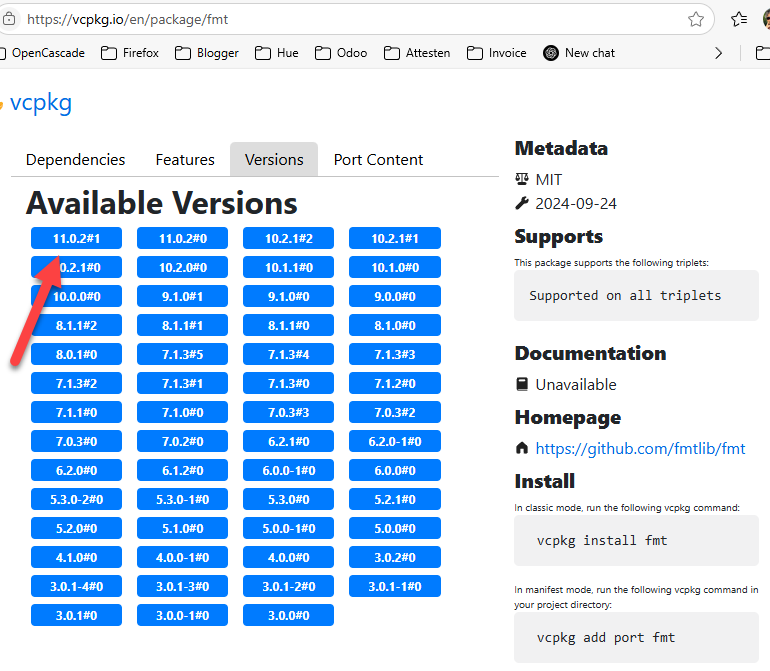
Let's take for example 11.0.2#1.
{
    "dependencies": [
        "fmt"
    ],
    "overrides": [
        {
            "name": "fmt",
            "version": "11.0.2#1"
        }
    ]
}
As soon as you save this file, CMake will update.
Update CMakeLists.txt
This is done by adding 3 types of CMake commands:
- find_package : after project
- target_link_libraries : if no header only lib
- target_include_directories : after add_executable
# CMakeList.txt : CMake project for CMakeProject, include source and define
# project specific logic here.
#
cmake_minimum_required (VERSION 3.8)

# Enable Hot Reload for MSVC compilers if supported.
if (POLICY CMP0141)
  cmake_policy(SET CMP0141 NEW)
  set(CMAKE_MSVC_DEBUG_INFORMATION_FORMAT "$<IF:$<AND:$<C_COMPILER_ID:MSVC>,$<CXX_COMPILER_ID:MSVC>>,$<$<CONFIG:Debug,RelWithDebInfo>:EditAndContinue>,$<$<CONFIG:Debug,RelWithDebInfo>:ProgramDatabase>>")
endif()

project ("CMakeProject")
find_package(fmt CONFIG REQUIRED)

# Add source to this project's executable.
add_executable (CMakeProject "CMakeProject.cpp" "CMakeProject.h")

target_include_directories(CMakeProject PRIVATE ${fmt_INCLUDE_DIRS})
target_link_libraries(CMakeProject PRIVATE fmt::fmt)

if (CMAKE_VERSION VERSION_GREATER 3.12)
  set_property(TARGET CMakeProject PROPERTY CXX_STANDARD 20)
endif()
And now we can include fmt in our code
#include "CMakeProject.h"
#include <fmt/core.h>

using namespace std;

int main()
{
	std::string projectName("CMake");
	std::string Hello = fmt::format("Hello from {}", projectName);
	cout << Hello << endl;
	return 0;
}

Add fetch_content
An alternative to vcpkg is the own CMake fetch_content.
Steps:
- Add include(FetchContent)
- Add FetchContent_Declare
- Add FetchContent_MakeAvailable
- Add target_link_libraries
# CMakeList.txt : CMake project for CMakeProject, include source and define
# project specific logic here.
#
cmake_minimum_required (VERSION 3.8)
include(FetchContent)

# Enable Hot Reload for MSVC compilers if supported.
if (POLICY CMP0141)
  cmake_policy(SET CMP0141 NEW)
  set(CMAKE_MSVC_DEBUG_INFORMATION_FORMAT "$<IF:$<AND:$<C_COMPILER_ID:MSVC>,$<CXX_COMPILER_ID:MSVC>>,$<$<CONFIG:Debug,RelWithDebInfo>:EditAndContinue>,$<$<CONFIG:Debug,RelWithDebInfo>:ProgramDatabase>>")
endif()

# Declare a dependency, for example, GLFW
FetchContent_Declare(
  glfw
  GIT_REPOSITORY https://github.com/glfw/glfw.git
  GIT_TAG        3.4  # Or a specific commit hash
)

project ("CMakeProject")
find_package(fmt CONFIG REQUIRED)
FetchContent_MakeAvailable(glfw)

# Add source to this project's executable.
add_executable (CMakeProject "CMakeProject.cpp" "CMakeProject.h")

target_include_directories(CMakeProject PRIVATE ${fmt_INCLUDE_DIRS})
target_link_libraries(CMakeProject PRIVATE fmt::fmt)
target_link_libraries(CMakeProject PRIVATE glfw opengl32)

if (CMAKE_VERSION VERSION_GREATER 3.12)
  set_property(TARGET CMakeProject PROPERTY CXX_STANDARD 20)
endif()
Running under WSL
Install this first
If you know it has to work on Linux or another platform, don't wait too long, add it from the start and test it after major changes.
Activate Linux

Some trouble shooting
First attempt failed because fmt is not on Ubuntu (WSL runs a remote ubuntu).
To fix that
- Start an Ubuntu terminal window from within visual studio
- "sudo apt-get install libfmt-dev" (note: password for LucWens set to 'a')
I suppose you need to repeat this for all libraries involved
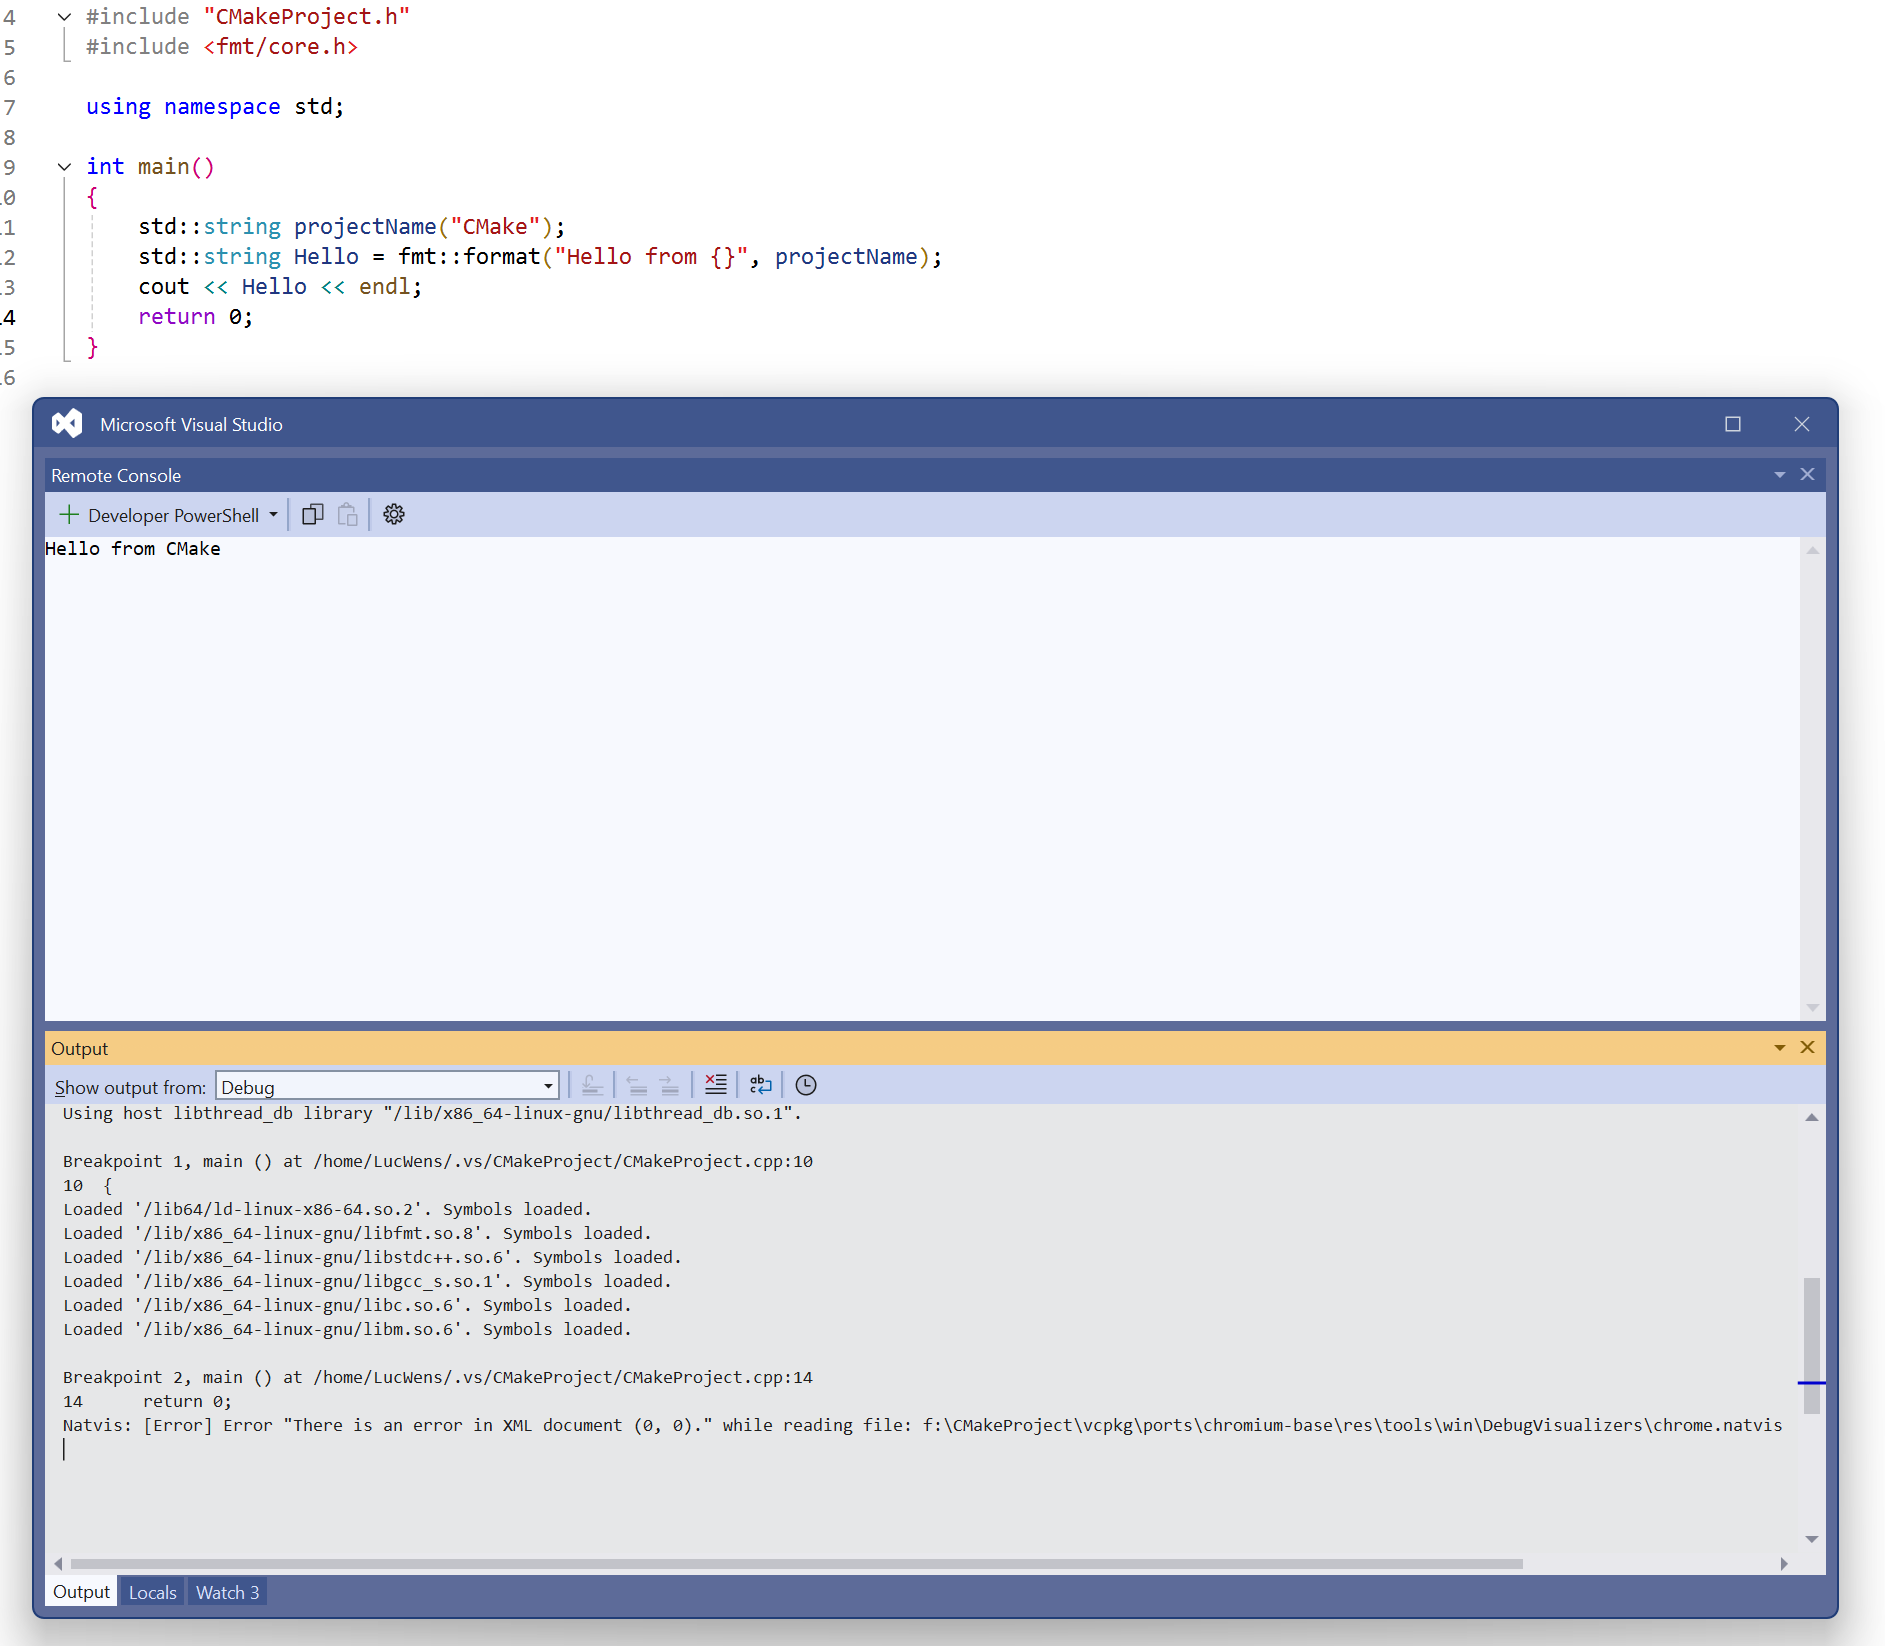
Run and debug
The output appears in "Remote Console" or during stepping :
Open the Debug Console Window:
- Go to Debug > Windows > Output (or press Ctrl + Alt + O).
- In the "Show output from:" dropdown, select Debug. This is where your application's stdout and stderr will be directed when debugging.
Running this project in Visual Studio code
As soon as you open the folder f:\CMakeProject in Visual Studio Code,
To run your CMake project in Visual Studio Code, you'll need the "CMake Tools" extension. This extension integrates CMake into VS Code, allowing you to configure, build, and debug your project.
Here's a step-by-step guide:
- Install CMake Tools Extension:
- Open VS Code.
- Go to the Extensions view (Ctrl+Shift+X or click the Extensions icon in the sidebar).
- Search for "CMake Tools" by Microsoft.
- Click "Install".
- Open Your Project Folder:
- In VS Code, go to File > Open Folder...
- Navigate to the root directory of your CMake project (the folder containing your CMakeLists.txt file) and click "Open Folder".
- Configure CMake:
- Once the folder is open, CMake Tools should automatically detect your CMakeLists.txt file.
- In the VS Code status bar at the bottom, you'll see a section for CMake Tools. It might say "No Kit Selected" or prompt you to configure.
- Click on "No Kit Selected" or the "Configure" button in the status bar. This will open a Quick Pick menu at the top, asking you to select a "Kit" (which represents a toolchain like GCC, Clang, MSVC, or your WSL Ubuntu setup).
- For WSL (Ubuntu): If you have WSL configured, CMake Tools should detect it and offer your WSL compiler as a kit (e.g., "GCC for Linux x86_64 (WSL)"), or a generic "GCC" kit. Select the appropriate kit for your Ubuntu WSL environment.
- After selecting a kit, CMake Tools will run cmake to configure your project. You'll see the output in the "Output" panel (usually under the "CMake" tab).
- Select a Build Variant (Debug/Release):
- In the status bar, you'll see the currently selected build type (e.g., "Debug"). Click on it to change between "Debug", "Release", "MinSizeRel", "RelWithDebInfo" if desired.
- Build the Project:
- In the status bar, click the "Build" button (looks like a hammer or wrench).
- Alternatively, go to Terminal > Run Build Task... or press Ctrl+Shift+B and select the CMake build task.
- The build output will appear in the "Terminal" panel, under the "Tasks" or "Output" tab.
- Run the Executable:
- Once built, your executable (in your case, CMakeProject) will be in the out/build/<presetName> directory (e.g., out/build/linux-debug/CMakeProject).
- To run from VS Code:
- In the status bar, click the "Run" button (looks like a play icon next to your target name, e.g., "CMakeProject").
- This will usually run the executable in the integrated terminal, and you'll see its output there.
- To run from the integrated terminal directly:
- Open a new integrated terminal (Ctrl+`).
- Navigate to your build directory (e.g., cd out/build/linux-debug).
- Run your executable: ./CMakeProject.
- Debugging (Optional but Recommended):
- Set breakpoints in your CMakeProject.cpp file.
- In the status bar, click the "Debug" button (the bug icon next to your target name).
- This will launch the debugger (GDB for WSL) and allow you to step through your code, inspect variables, and view console output in the "Debug Console" panel.
By following these steps, you should be able to effectively work with your CMake project in Visual Studio Code, including configuring, building, running, and debugging it within your WSL Ubuntu environment.